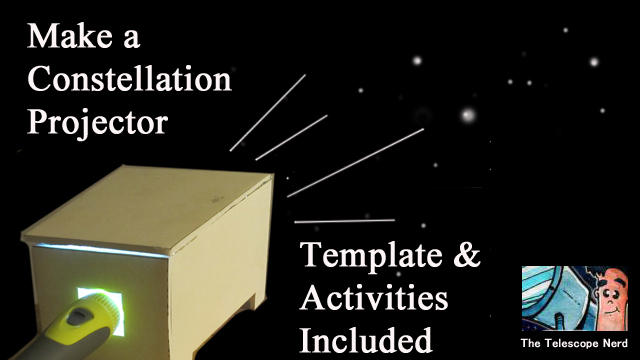
Make a Constellation Projector
How to Make a Constellation Projector
An easy and fun project and I give you a bunch of learning activities to go with it – I also have a video tutorial you can watch. It is at the bottom of the page.
Along with this tutorial on how to make the projector comes a free template with sixteen constellations and all the plans for making it. I also have some great project and activity guidelines that will help you make the projector even more fun, (The Template for this project is here ) and a bit of a learning project so kids and people can learn more about the night sky. The activities are right here.
How it works
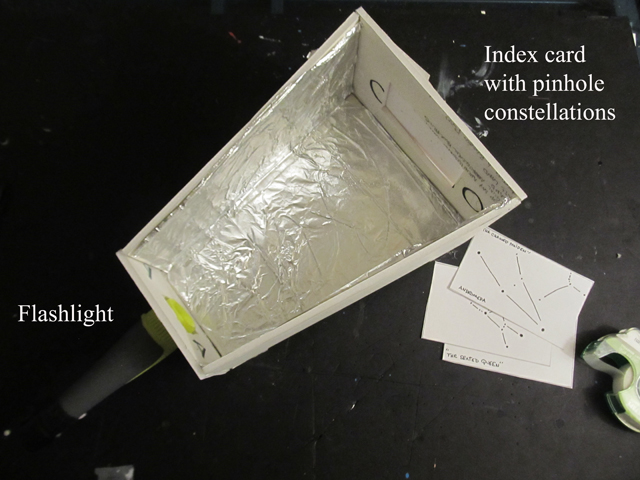
It is a very simple set up. It is a box with an aluminum foil lining. On one end of the box is a flashlight and on the other end is a place to put index cards with constellation pin holes in it. The flashlight shines light through the pinholes in the index card thus casting stars on a wall.
What you need to make this project:
- 1 sheet of foamboard (corrugated cardboard will work too)
- Some type of glue or a hot glue gun
- Some aluminum foil
- 1 small flashlight with a single bulb in it. Not a flashlight with multiple bulbs
- The template I give you
- An xacto or hobby knife to cut the foamboard
- Scissors
- Pencil or Pen
- Index cards (3×5) but this is optional
- Some kind of pin, pushpin or needle to pierce the star holes in the index cards
About the flashlight
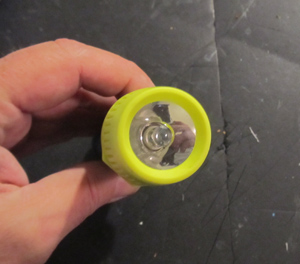
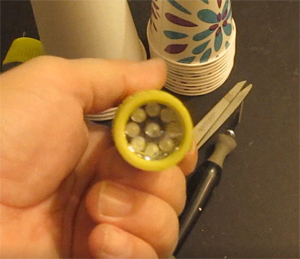
Try to get and use a flashlight with a single bulb or LED in it. There are many flashlights that have multiple bulbs in them. Those are a little bit trickier to use for this project. They will often cause each star to cast multiple stars on the wall.
A single LED flashlight
Multi-LED flashlight.
You can also watch the video tutorial here: